How to Organize Kitchen Cabinets for Beginners: A Step-by-Step Guide
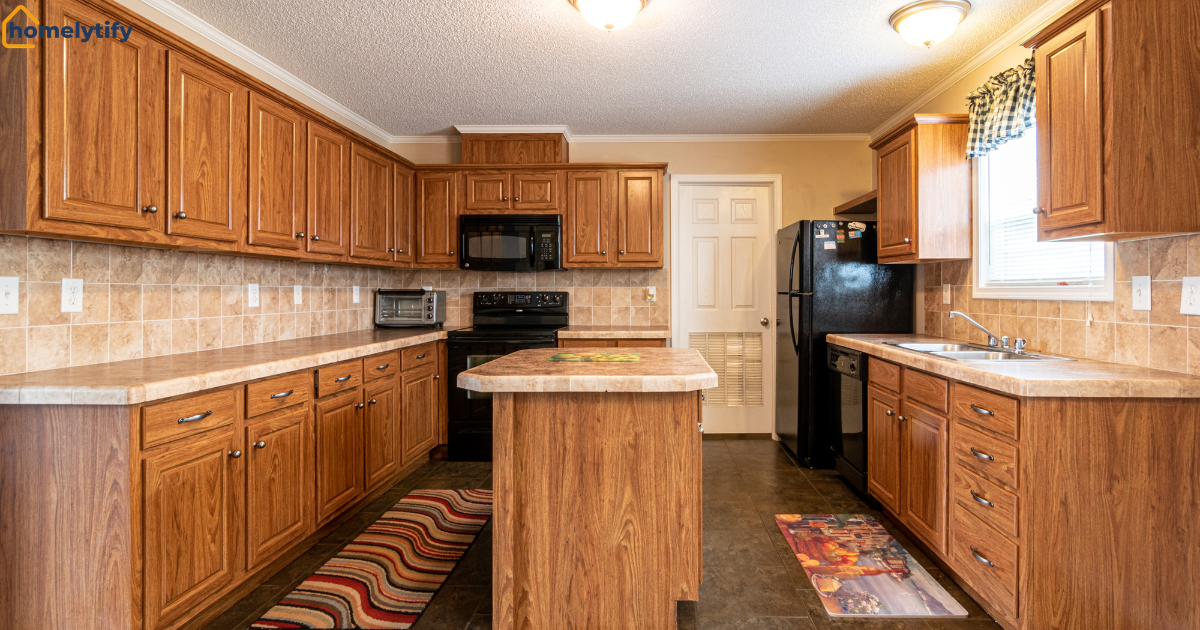
Learning how to organize kitchen cabinets for beginners usually starts the same way for everyone: you open a cabinet looking for one thing, and three other things fall out before you find it.
If your cabinets have never had a real system, you’re not alone, and you didn’t do anything wrong. Most people inherit a kitchen that was already disorganized, or they move things in as they unpack and never go back to fix it. The result is cabinets that technically hold everything but make finding anything a small daily fight.
This guide walks you through the entire process from an empty cabinet to a working system, in the right order, without assuming you already know where things should go. No expensive organizers are required to start. Just a clear sequence you can follow today and actually finish.
By the end, you’ll know exactly what goes where, what doesn’t belong in a cabinet at all, and how to keep it from sliding back into chaos in a few weeks.
Why Kitchen Cabinets Feel Overwhelming When You’re Starting From Zero
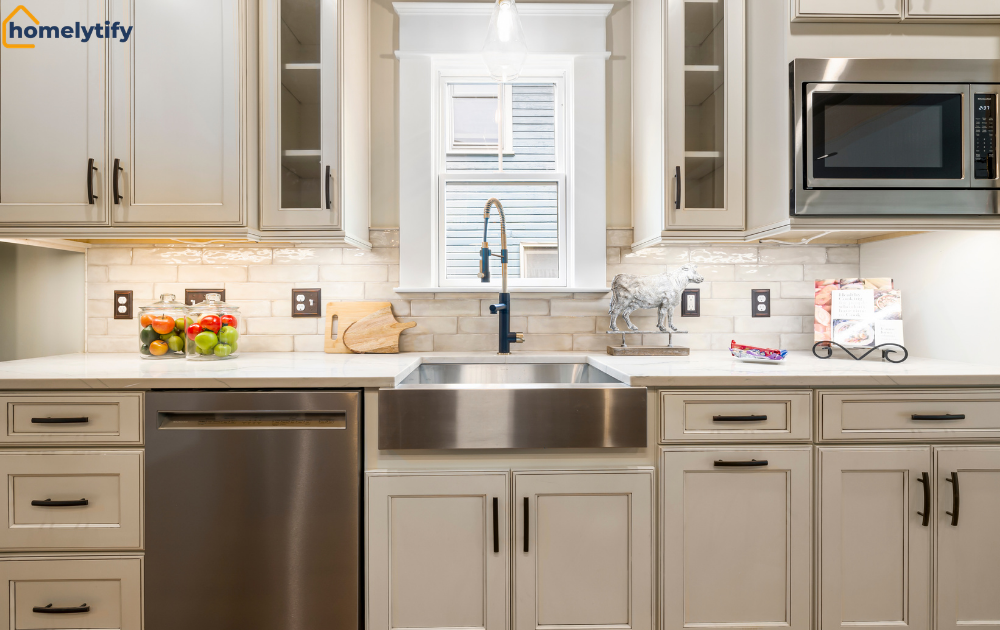
Kitchen cabinets feel impossible to organize when you’ve never had a system, because every item seems to require a decision, and there’s no existing structure to guide those decisions.
That’s the real difference between someone organizing for the first time and someone who is just tidying up an existing system. A beginner isn’t maintaining something; they’re building it from nothing, which is a different and harder task.
The Real Reason Most Cabinets Stay Messy
It’s rarely about having too much stuff, even though that’s usually the first assumption. The actual problem is that items get placed wherever there’s room at the moment, not where they logically belong based on how you cook or how often you use them.
Here’s where things usually fall apart: you put a pot away after washing it, the nearest open spot is wherever it fits, and three weeks later that “wherever it fits” spot becomes its permanent and entirely random home. Multiply that by every item in your kitchen, and you get cabinets that hold everything but make no sense.
I noticed this firsthand the first time I actually emptied a kitchen cabinet completely instead of just rearranging the front of it. The back held a waffle iron I had used twice, three near-identical mixing bowls I had bought at different points without remembering I already owned the others, and a takeout container lid with no matching base. None of it was clutter I had consciously chosen to keep. It had just never been forced to justify its spot.
What “Organized” Actually Looks Like for a Beginner
Organized doesn’t mean color-coded labels and matching containers. For a beginner, organized means you can open a cabinet and find what you need in under five seconds, every time, without digging.
That’s the entire goal of this guide. Not Pinterest-perfect shelves. A working system that makes cooking and cleanup faster because everything has one specific, logical spot.
How to Organize Kitchen Cabinets for Beginners: Step by Step
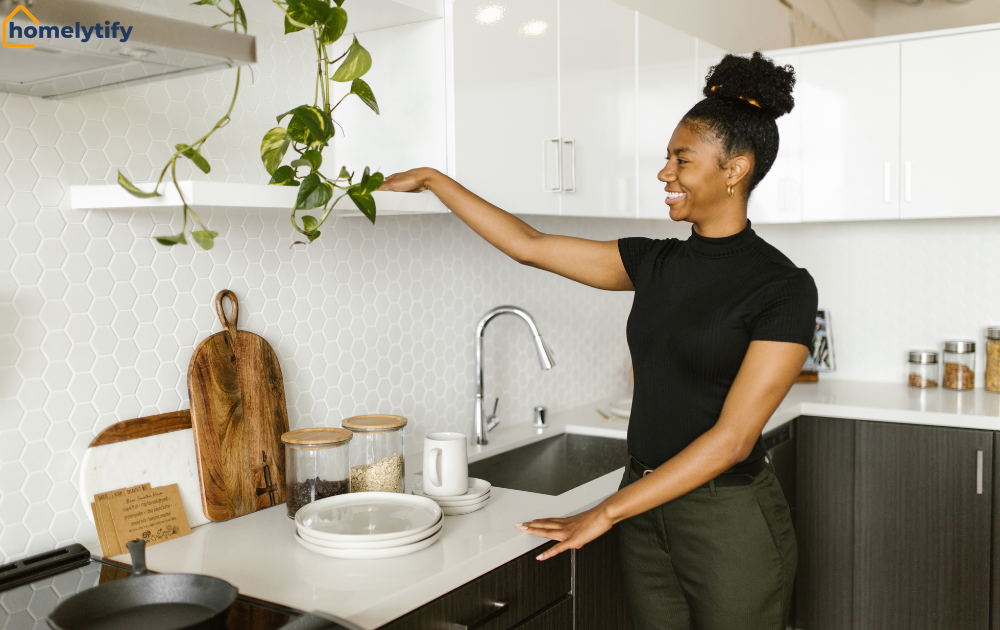
This is the core process, and the order matters more than almost anything else in this guide. Skipping ahead to “where things go” before decluttering is the single most common reason beginner organizing attempts fail within a month.
Work through these five steps in order, even if it feels slower than just rearranging what’s already there.
Step 1: Empty Every Cabinet Completely
Take everything out of every cabinet and lay it all out on the counter or table where you can see it. Not one cabinet at a time at first, get the full picture of what you actually own.
This step alone is uncomfortable for a lot of beginners because it temporarily makes the kitchen look worse before it gets better. That’s normal. You can’t organize what you can’t see, and most people genuinely don’t know how much duplicate or unused stuff has been hiding in the back of a cabinet for years.
While the cabinets are empty, wipe down the interior shelves. It takes two minutes per cabinet, and you’ll never have easier access to do it.
Step 2: Sort Into Keep, Donate, and Trash
With everything out on the counter, go through it in three honest categories. Keep means you’ve used it in the last year, and it earns a spot. Donate means it’s fine, but you don’t need it. Trash means it’s expired, broken, or has a part missing that makes it useless.
This is where beginners get stuck the most, because it’s tempting to keep “just in case” items. Be specific with yourself: if you can’t name an actual upcoming use for something, it likely doesn’t need to live in your kitchen.
Toss anything expired right now. Donate duplicates: if you own four spatulas, keep your favorite one and donate the rest. This single step usually clears out twenty to thirty percent of what came out of the cabinets before you even start organizing.
Step 3: Create Zones Based on How You Cook
Once you know what’s staying, group it into zones based on what you actually do in your kitchen, not by category for its own sake.
A practical beginner zone system looks like this: a prep zone near your main counter space for cutting boards, mixing bowls, and prep tools. A cooking zone near the stove for pots, pans, oils, and daily spices. A dish zone near the sink or dishwasher for everyday plates, bowls, and glasses. A food storage zone near the fridge for containers, wraps, and foil.
This step is where most people skip straight to “I’ll just put things wherever,” but zoning based on use is the difference between a kitchen that feels intuitive and one where you’re always walking back and forth.
Step 4: Place Items by Height and Frequency
Within each zone, the height at which something sits matters as much as which cabinet it’s in.
Eye to hip level, the space between your waist and shoulders, is your most valuable real estate. This is where daily-use items go: everyday mugs, plates, and the spices you reach for constantly. Lower cabinets are best for heavy or bulky items like mixers, crockpots, and large pots, since you don’t have to lift them and they’re safer to grab at a lower height.
Upper cabinets work for lighter items, with the very top shelf reserved for things you use only a few times a year, like a holiday platter or a turkey roaster.
This single principle, daily items at arm’s reach, heavy items low, rare items high, does more to make a kitchen feel organized than any storage product you could buy.
Step 5: Add Simple Tools to Maximize Space
Once everything has a zone and a height, a few inexpensive tools can stretch the space you already have. None of this is required to have an organized kitchen, but it helps once the basics are in place.
Stackable shelf risers double your usable vertical space inside upper cabinets, especially for cups, bowls, or canned goods that would otherwise sit in one flat layer. A lazy susan works well in corner cabinets or deep cupboards where things tend to get pushed to the back and forgotten; oils, sauces, and small jars are perfect candidates.
Vertical pan organizers keep baking sheets and cutting boards standing upright instead of stacked flat, which stops the avalanche that happens every time you try to pull one out from the bottom.
Where Things Actually Go: A Beginner’s Cabinet Map
This is the part most guides gloss over, and it’s usually the exact question a beginner is searching for: where do things actually go in kitchen cabinets?
Here’s a practical, no-guesswork starting map for a standard kitchen layout.
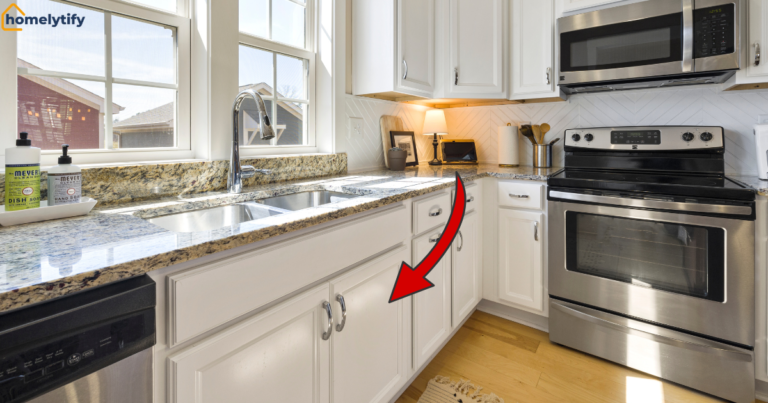
Cabinet above or beside the stove: daily cooking oils, pots, pans, and the spices you use most often. Lower cabinet near the stove: baking sheets, large pots, mixing bowls. Cabinet near the sink: everyday dishes, glasses, and dish towels. Drawer nearest the prep counter: knives, peelers, measuring tools.
Cabinet near the fridge: food storage containers, foil, plastic wrap, and snacks.
Pantry or designated food cabinet: canned goods on one shelf, dry goods on another, snacks grouped.
If your kitchen layout doesn’t match this exactly, the underlying logic still applies: keep items near where you’ll actually reach for them, not in the cabinet that happened to be empty when you moved in.
This zone-based approach to cabinet design is also showing up at the manufacturing level, not just in personal organizing advice. According to the 2026 Houzz Kitchen Trends Study, released in January 2026, 94 percent of homeowners now integrate specialty storage features into their cabinetry, including dedicated cabinets or drawers for cookie sheets and trays at 55 percent, spice organization at 41 percent, and cutlery storage at 38 percent.
The same study found that 47 percent of renovations now include pantry cabinets, with experts citing reduced clutter and improved daily efficiency as the leading reasons. The same principles this guide walks you through with what you already own, dedicated zones, items grouped by use, and accessible storage for daily essentials are exactly what the renovation industry is now building directly into new cabinetry.
What Should Not Be Stored in Kitchen Cabinets
This is one of the most overlooked parts of kitchen organization, and it’s a question beginners genuinely ask but rarely find a clear answer to.
Some items don’t belong in kitchen cabinets at all, even if there’s technically room. Cleaning chemicals shouldn’t be stored near food, especially in lower cabinets where they could leak onto items below or be within reach of kids and pets. A dedicated under-sink caddy or a separate cabinet works better.
Medications and vitamins shouldn’t live in kitchen cabinets either, since heat and humidity from cooking can degrade them faster; a bathroom cabinet or bedroom drawer is a safer spot. Paper goods like extra napkins or paper towel rolls, while harmless, take up valuable prime cabinet space that’s better used for food and cooking tools.
A closet or pantry shelf is a smarter home for bulk paper supplies. And anything you genuinely never use, that bread maker from three Christmases ago, doesn’t need to occupy daily use cabinet space; if it’s worth keeping at all, it belongs in a higher, less accessible spot or in storage outside the kitchen entirely.
Being clear about what doesn’t belong frees up more usable space than almost any organizing product.
Small Kitchen Cabinet Organization When Space Is Tight
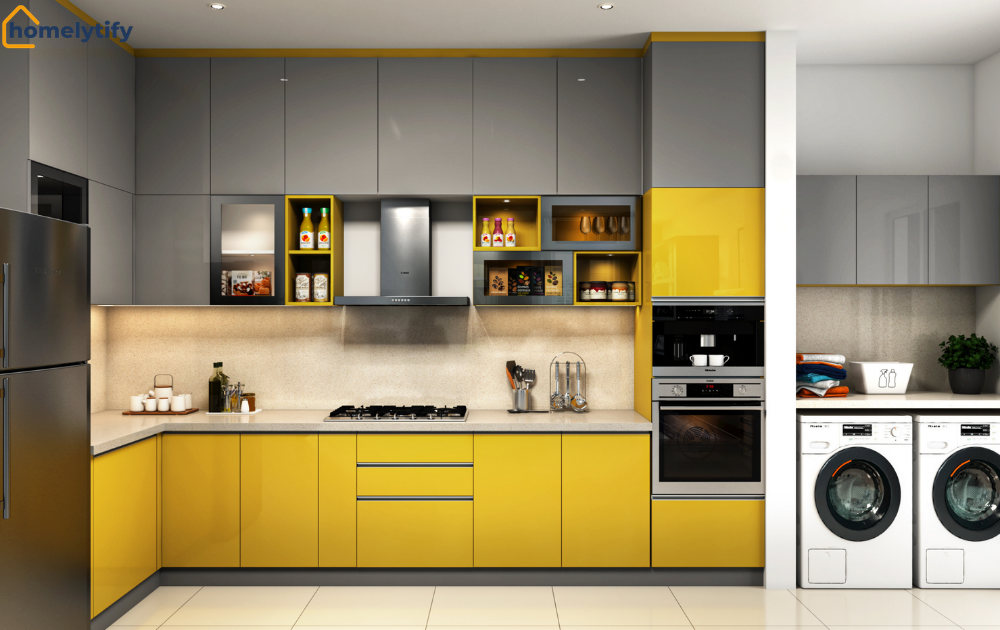
A small kitchen needs every one of the steps above, but with less room for error, so the decluttering step, in particular, matters even more.
In a small kitchen cabinet, doubling up vertically is non-negotiable, not optional. Shelf risers aren’t a nice extra; they’re often the difference between cabinets that fit your dishes and cabinets that don’t. The inside of cabinet doors becomes valuable real estate too; a slim adhesive rack on a cabinet door can hold lids, foil boxes, or small spice jars without using any shelf space at all.
If you genuinely don’t have a pantry, designate one specific cabinet for food storage only and treat it like a mini pantry: canned goods on one shelf, dry goods on another, snacks grouped in a bin so they don’t spread across the shelf. Small kitchens punish vague organization fast, so the tighter your zones, the better the whole system holds up day to day.
Common Mistakes Beginners Make When Organizing Kitchen Cabinets
These mistakes show up again and again with first-time organizers, and knowing them ahead of time saves you from repeating them.
Buying organizers before decluttering. It’s tempting to start with a shopping trip, but buying bins and risers before you know what’s actually staying means you’ll likely buy the wrong sizes or things you didn’t need at all. Declutter first, then buy only what solves a specific remaining problem.
Organizing by category instead of by zone. Grouping “all baking stuff together” sounds logical, but if your mixing bowls are far from where you actually mix, you’ll be walking across the kitchen constantly. Zone by where you use things, not just what they technically are.
Putting heavy items on high shelves. It feels natural to put the big stand mixer wherever there’s space, but heavy items on upper shelves are both inconvenient and a safety risk. Keep anything heavy at or below counter height.
Trying to finish in one rushed session. Organizing an entire kitchen in one tired evening usually means things get shoved back in without real thought, just to be done. It’s fine to do one or two cabinets a day instead of forcing the whole kitchen at once.
Skipping the “what doesn’t belong here” question. Beginners often organize everything that came out of the cabinets back into the cabinets, without asking whether some of it should leave the kitchen entirely. That question alone can free up a surprising amount of space.
How to Keep Kitchen Cabinets Organized Without Starting Over
A system you built once will drift over time; that’s normal, not a failure on your part. The goal isn’t perfection forever; it’s catching the drift before it turns into another full overhaul.
Put things back in their zone immediately after use, even when you’re tired, and it would be faster to set something down on the counter instead. This single habit prevents most of the slow slide back into chaos. Once a month, spend five minutes scanning one or two cabinets to see if anything has drifted out of its zone, and gently correct it before it spreads.
And whenever something new comes into the kitchen, a new pan, a new gadget, ask where it actually belongs based on the zones you already built, rather than just finding the nearest open spot.
A kitchen organized this way doesn’t need to be redone from scratch every few months. It just needs small, regular check-ins.
Conclusion
Organizing kitchen cabinets for the first time isn’t about owning the right products or following a Pinterest-perfect layout. It’s about following the right order: empty everything, decide honestly what stays, group by how you actually cook, place by height and frequency, and only then add tools to stretch the space.
The beginners who succeed with this aren’t the ones with the biggest budget; they’re the ones who actually finish the decluttering step instead of skipping straight to rearranging.
Start with one cabinet today. Empty it, sort it honestly, and put back only what earns its place. You don’t need to fix the whole kitchen this weekend. One cabinet done properly is worth more than five cabinets shuffled around without a real system behind them.
Frequently Asked Questions
How do I start organizing kitchen cabinets as a complete beginner?
Start by emptying every cabinet so you can see everything you own. Sort items into keep, donate, and trash before putting anything back. Only after decluttering should you group items into zones based on how you cook and place them by height and frequency of use.
What is the most efficient way to organize kitchen cabinets?
The most efficient method is zoning, grouping items by where you actually use them, like a prep zone, cooking zone, dish zone, and food storage zone. Combine this with placing daily-use items at eye-to-hip level, heavy items low, and rarely used items high.
What should not be stored in kitchen cabinets?
Cleaning chemicals shouldn’t sit near food, especially in lower cabinets accessible to kids or pets. Medications degrade faster from kitchen heat and humidity, so they’re better stored elsewhere. Bulk paper goods and rarely used appliances also take up prime space better used for daily cooking items.
How do you organize kitchen cabinets in a small kitchen?
Use shelf risers to double vertical space, add slim racks to the inside of cabinet doors, and designate one specific cabinet as a mini pantry if you don’t have a separate one. Small kitchens need tighter, more deliberate zoning since there’s less room for vague organization to work.
How do you keep kitchen cabinets organized after the first cleanup?
Put items back in their designated zone immediately after use instead of leaving them on the counter. Do a quick five-minute check once a month to catch anything that’s drifted out of place. When new items enter the kitchen, assign them a zone right away instead of finding the nearest open spot.